Ultimate Guide to Photometric Planning
Ultimate Guide to Photometric Planning
Photometric planning ensures well-designed lighting by predicting how light will behave in a space before installation. It improves energy efficiency, safety, and compliance with local regulations. By using tools like simulation software ( DIALux , AGi32 ) and photometric data, you can optimize fixture placement, light levels, and uniformity.
Key Takeaways:
- Why It Matters: Reduces energy waste, cuts costs, and ensures safety while meeting regulatory standards.
- Applications: Used in offices, warehouses, parking lots, sports arenas, and more.
- Core Elements: Light levels (measured in footcandles or lux), even distribution, and strategic fixture placement.
- Steps to Create a Plan: Measure the space, assess lighting needs, choose fixtures, simulate with software, and review results.
- Advanced Tips: Use smart controls, plan for light output decline, and ensure compliance with energy codes to save up to 70% on energy.
Photometric planning is vital for efficient and effective lighting in any setting.
The ULTIMATE DIALux evo Guide for Beginners (It feels Illegal!)
Key Elements of a Photometric Plan
A photometric plan includes essential components that ensure your lighting system performs effectively while aiding in precise blueprint creation. By understanding these elements, you can achieve ideal light levels and distribution tailored to your space.
Light Levels and Measurement Units
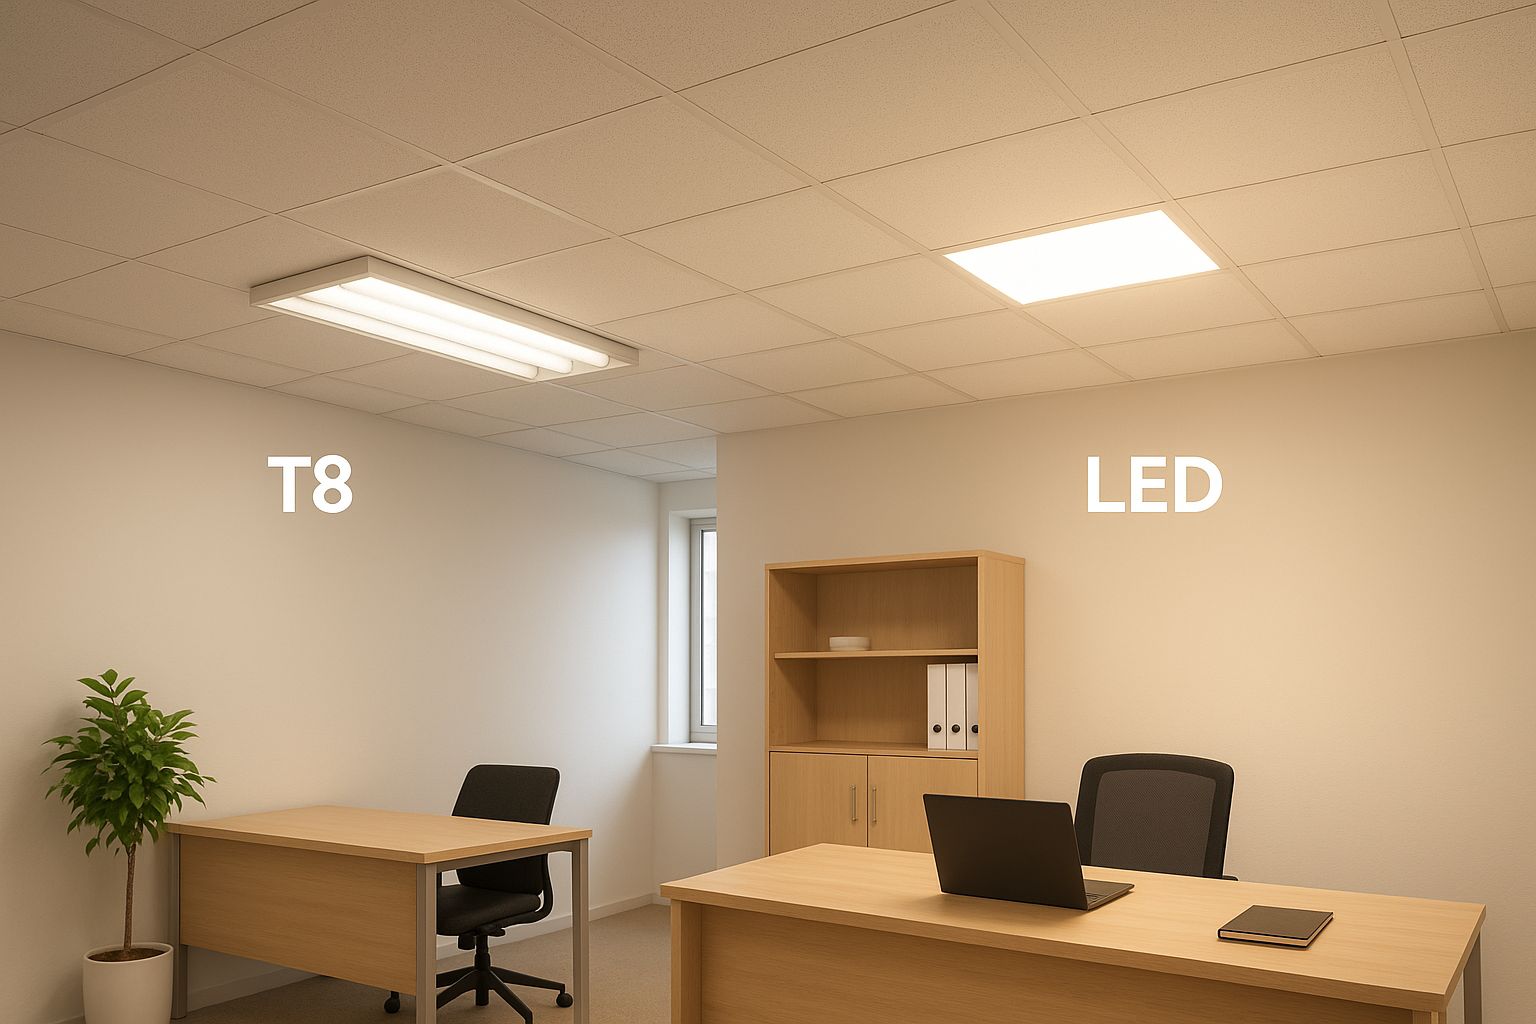
Light levels are typically measured using two units: footcandles (fc) and lux (lx). A footcandle represents one lumen per square foot, while a lux equals one lumen per square meter (1 fc ≈ 10.764 lx). Choosing the right LED fixtures means targeting the correct light levels for specific environments:
- Storage rooms: 5–10 fc
- Offices: 30–50 fc
- Workshops: 70–100 fc
The Illuminating Engineering Society (IES) provides standard recommendations for these levels. When determining lighting needs, factors such as the age of occupants, the tasks performed, and the brightness of surrounding surfaces should be taken into account. If current lighting falls short of these guidelines, increasing lumens or upgrading fixtures might be necessary. Proper measurement ensures not only adequate light but also uniform distribution across the area.
Even Light Distribution and Uniformity
Uniformity in light distribution plays a critical role in visual comfort and energy efficiency. It’s measured using uniformity ratios, with well-designed projects typically achieving ratios between 0.6 and 0.8. These ratios minimize the contrast between the brightest and darkest areas, avoiding harsh shadows or overly bright spots. For instance, lighting projects in cities like Logroño, Cartagena, and Zaragoza have shown how maintaining uniformity ratios (ranging from 0.6 to 0.9) reduces energy use and eliminates dark zones.
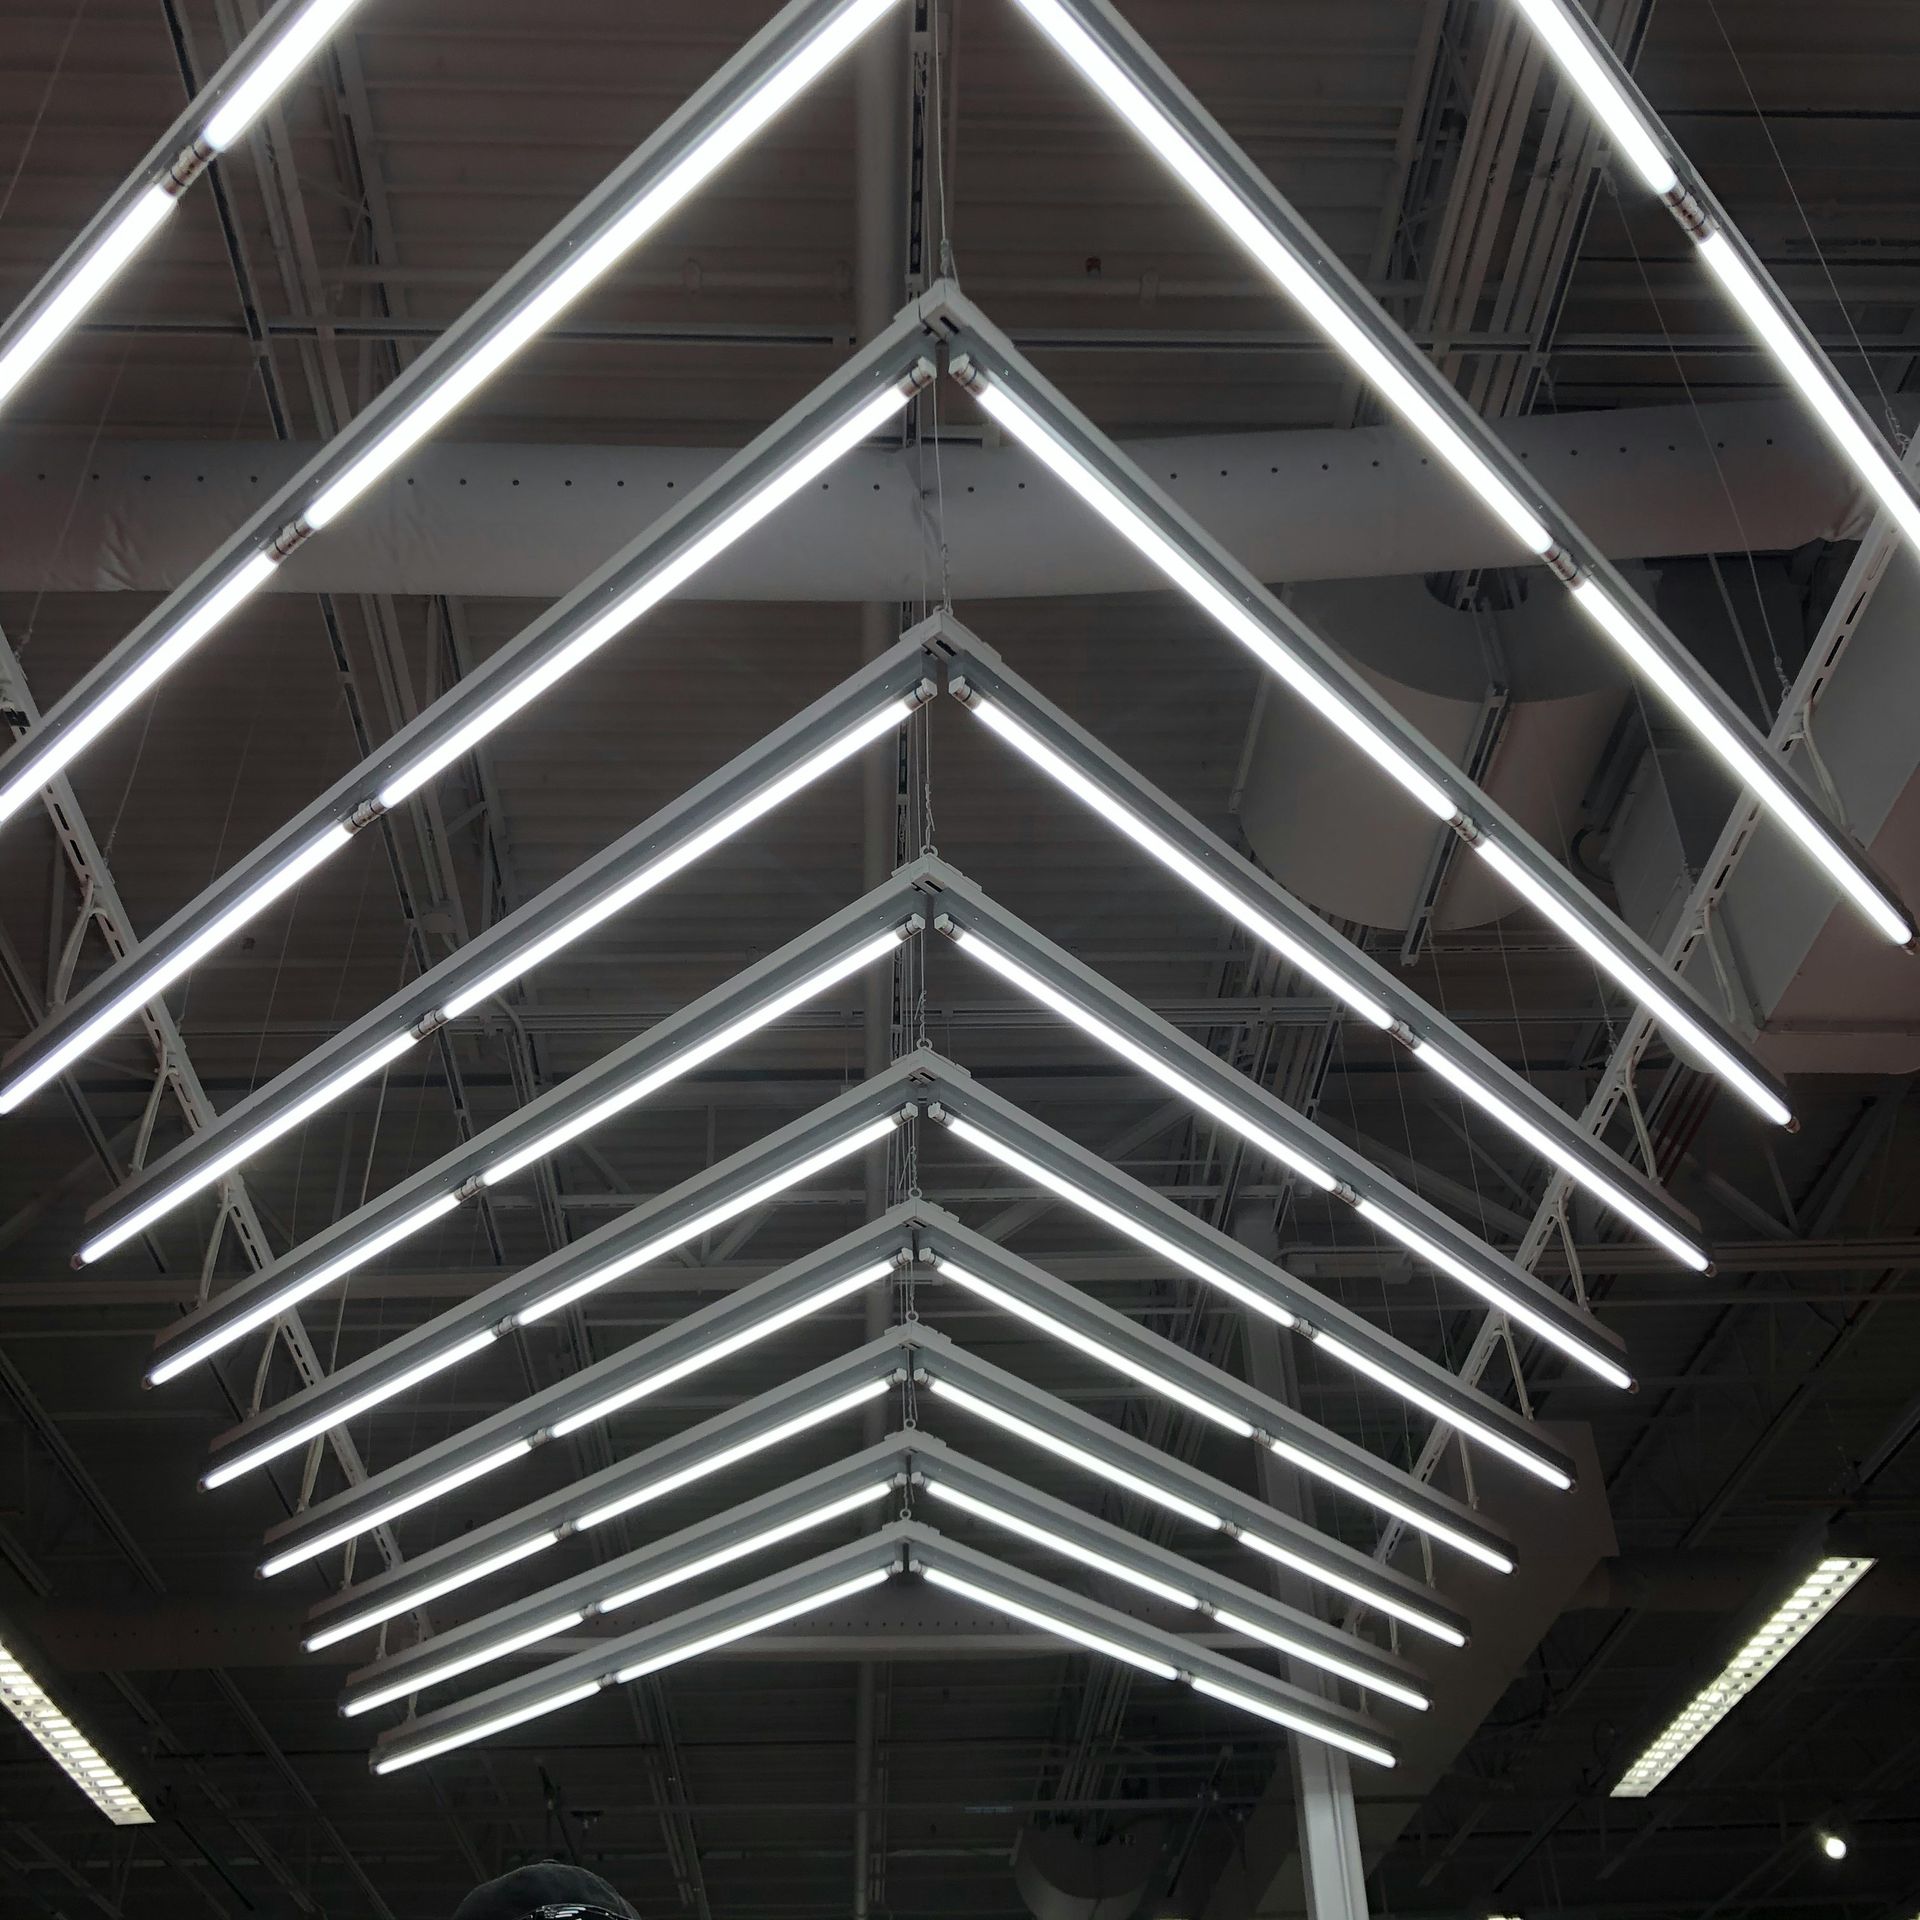
Fixture Placement and Light Patterns
Strategic positioning of fixtures is key to ensuring comprehensive coverage while reducing shadows and light waste. Here are some general placement guidelines:
- General applications: Space fixtures roughly twice the distance from the wall.
- Recessed lighting: Position fixtures about half the ceiling height apart and 3 feet from walls to avoid shadows.
- Wall washing: Install fixtures at a 30–45° angle from the wall, with a distance equal to 1–1.5 times the wall height.
When planning placement, consider the primary and secondary uses of the space. For example, layering ambient, task, and accent lighting can enhance both functionality and aesthetics. Beam angles and light intensity also play a role in achieving optimal coverage. Before installation, sketch a layout to visualize fixture positions, focus on key areas, and follow ceiling height guidelines to ensure consistent spacing - especially in corners where poor design can cause unwanted shadows.
Layering multiple lighting types adds depth and visual interest to your design. Incorporating dimmer switches and energy-efficient LED fixtures further enhances flexibility and efficiency.
How to Create a Photometric Plan
Developing a photometric plan requires a structured approach and the right tools to model your lighting design before installation. This ensures your system meets performance goals and adheres to relevant codes.
Photometric Planning Steps
Start by evaluating the space where the lighting system will be installed. Measure the layout, dimensions, ceiling heights, and note any obstacles like HVAC units or structural beams. Pay attention to reflective surfaces that could impact how light is distributed.
Next, identify your lighting needs. Think about how much light is required, the type of lighting suitable for the space, and the ideal color temperature. For example, an office space will have very different lighting needs compared to a warehouse or a retail store.
Choose fixtures based on their shape, size, beam angle, and photometric data to meet your performance goals. Then, use photometric software to simulate the light distribution. This step lets you test different setups - adjusting fixture placement, changing beam angles, or experimenting with various fixture types - before committing to an installation. It’s a practical way to avoid costly errors.
Finally, review the simulation results. Ensure the lighting levels are sufficient, energy efficiency is optimized, and the design meets all code requirements. Make adjustments as needed until your plan checks all the boxes.
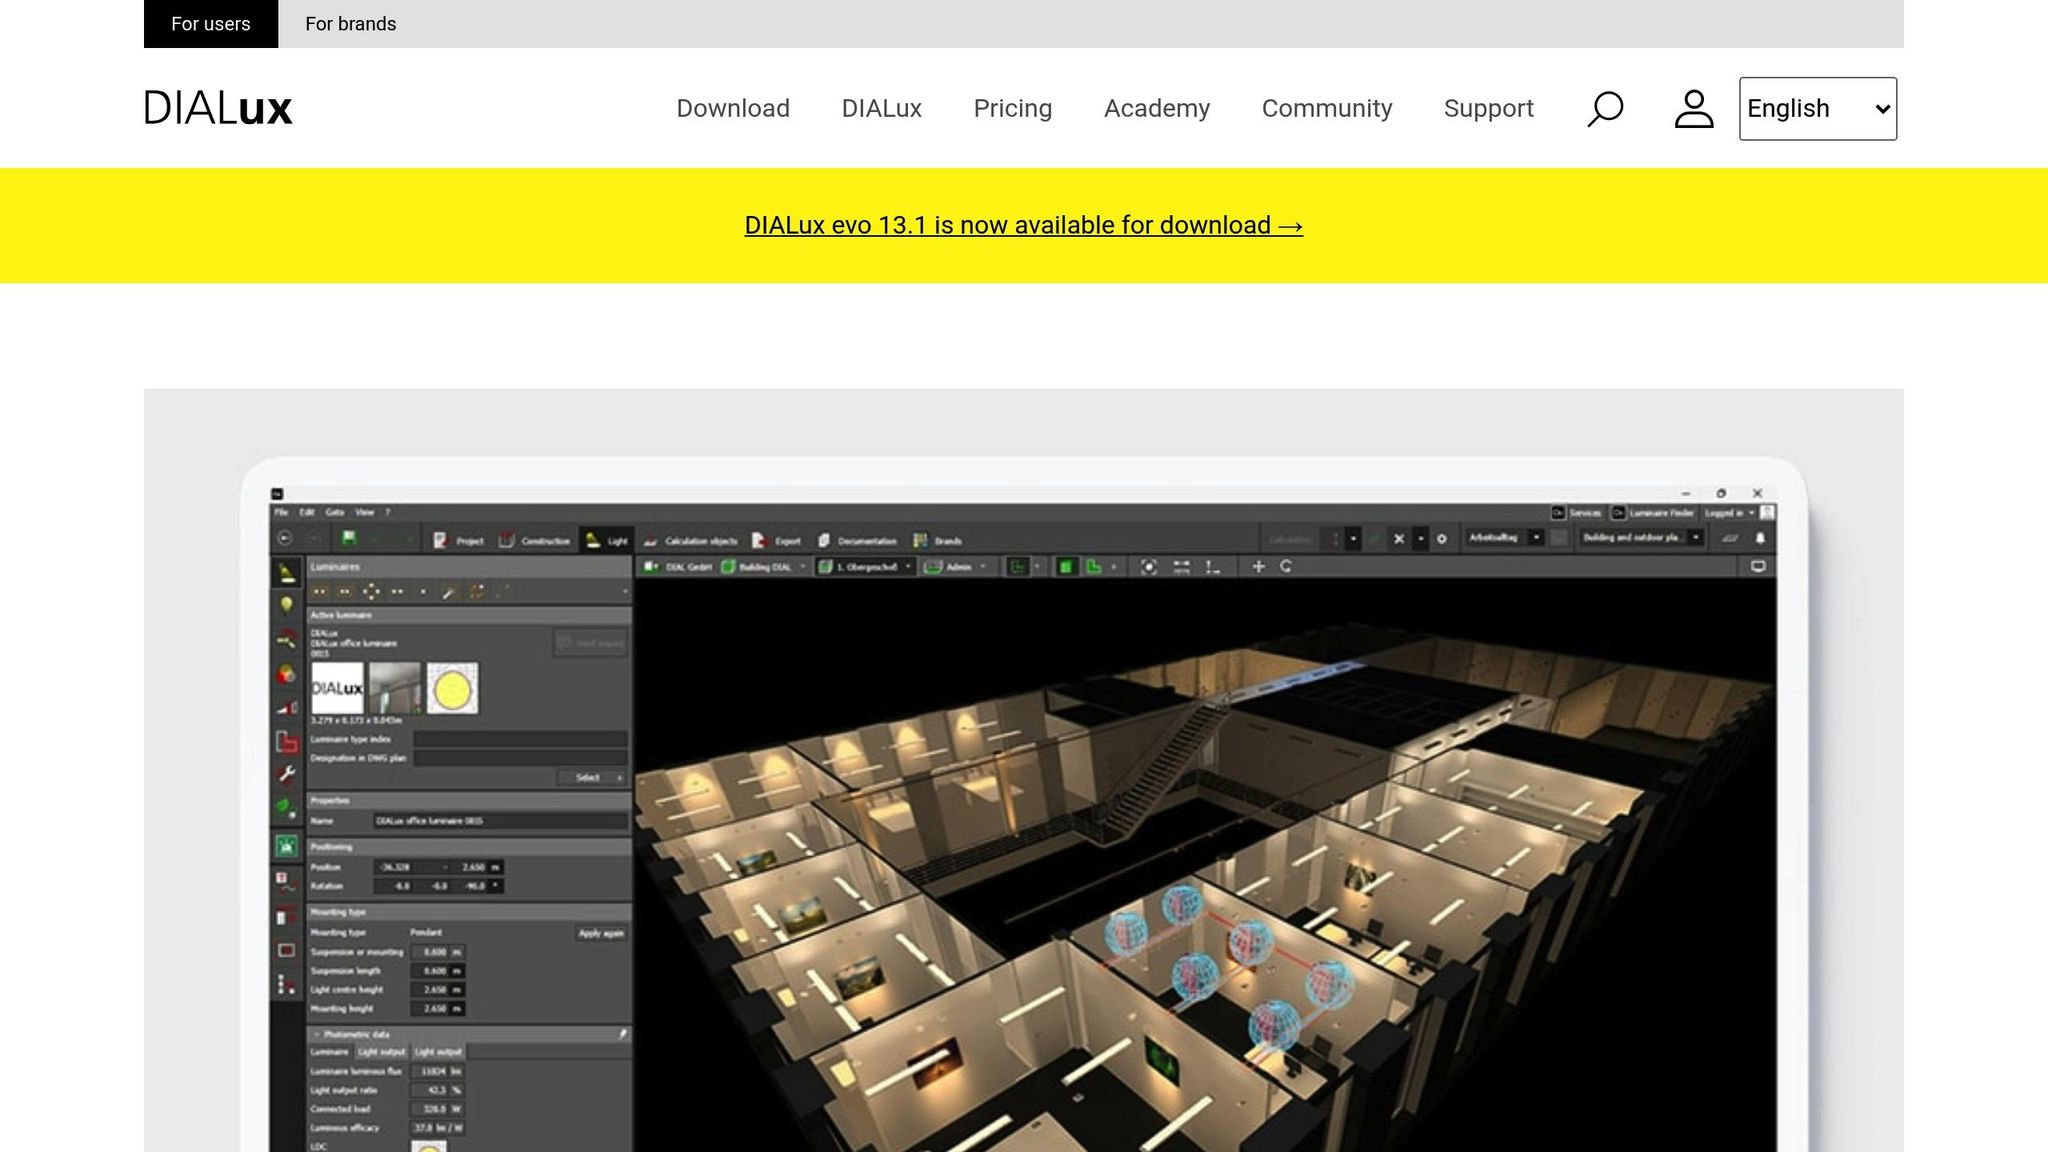
Photometric Software and IES Files
Specialized software and IES files are essential tools for creating accurate lighting simulations. IES files are standardized documents that describe how a light source emits light, including details about its intensity, direction, and spread. These files provide a three-dimensional representation of the light distribution, covering both luminous flux and luminous intensity.
Popular software options like DIALux EVO and AGi32 are widely used in the lighting industry. Many manufacturers, such as Faro Barcelona , provide IES files for their products. To use these, download the appropriate IES file from the manufacturer’s website, import it into your chosen software, and position the fixture within your digital model. The software allows you to simulate various lighting scenarios, helping you fine-tune your design before finalizing it.
Reading Photometric Reports
Once you’ve simulated your design, the next step is to interpret the photometric report, which provides a detailed breakdown of your lighting system’s performance. Here are the key metrics to focus on:
- Luminous flux (lumens): Measures the total light output.
- Illuminance (foot-candles or lux): Indicates whether specific areas receive adequate light.
- Candela distribution: Shows how light is focused and distributed.
- Color rendering index (CRI): Reflects how accurately colors appear under the light source.
Other critical factors include color temperature (measured in Kelvin), which influences the mood and functionality of the space, and efficacy ratings (lumens per watt), which highlight energy efficiency. For compliance with energy codes, check the uniformity ratios to ensure even lighting without dark spots or overly bright areas. Outdoor projects should also meet regulations on light levels at property boundaries to minimize light pollution.
Additionally, review glare ratings to reduce visual discomfort, especially in spaces where people spend long hours. Use rated life data to plan maintenance schedules, ensuring fixtures last as expected. By analyzing these details, you can balance upfront costs with long-term operational efficiency.
sbb-itb-86fe545
Advanced Planning Methods and Tips
Once you've mastered the basics of photometric planning, you can dive into advanced strategies that fine-tune your lighting system for efficiency, compliance, and long-term performance. These methods ensure your system doesn’t just meet today’s needs but stays effective over time.
Meeting Energy Codes and Securing Rebates
One of the key benefits of photometric planning is ensuring that your lighting design complies with U.S. energy efficiency codes, such as ASHRAE 90.1 , and local building standards. These codes often set strict limits on lighting power density, typically measured in watts per square foot. A well-documented plan - including fixture specifications, mounting heights, and IES files - can not only confirm code compliance but also unlock utility rebates, helping to offset project costs.
Pairing LED lighting with advanced controls can slash energy consumption by up to 80% compared to traditional systems. Adding Networked Lighting Controls (NLCs) can deliver an extra 47% in energy savings.
"A photometric plan serves as the strategic backbone of efficient lighting design, guiding facility managers and building owners through the meticulous process of selecting, placing, and quantifying light fixtures to illuminate their spaces effectively. It's not merely a technical document but a map that leads to energy savings, regulatory adherence, and the creation of inviting atmospheres for any given area."
– Sophia Martinez, Author
The next step is addressing how light output changes over time to ensure consistent performance.
Planning for Light Output Decline
LED fixtures, like all lighting systems, gradually lose brightness as they age - a process known as lumen depreciation. The L70 rating indicates when an LED’s brightness decreases to 70% of its original output. Most LEDs have lifespans ranging from 15,000 to 50,000 hours or more, with 50,000 hours being a common benchmark for operational life.
"An installation that has been designed to deliver 300 lux will then be delivering 270 lux and we can anticipate a failure of 10 fixtures per hundred installed. These are not insignificant figures, despite being the best that we can look for."
– JB, Editor, The Light Review
To mitigate lumen depreciation and extend fixture life, consider dimming LEDs. This reduces the stress on the fixtures and helps maintain consistent light levels. Avoid overdriving LEDs, as this shortens their lifespan, while underdriving can be a smart way to preserve their longevity. Additionally, LED drivers are more efficient than traditional ballasts, typically reducing light output by only 15% over time compared to up to 25% for ballasted systems.
Integrating smart controls is another effective way to manage these challenges while boosting efficiency.
Adding Smart Controls and Sensors
Smart controls and sensors are game-changers for energy savings in lighting systems. Features like occupancy sensors, daylight harvesting, and automated controls can cut energy use in commercial buildings by 20–50%. For instance, occupancy sensors alone can reduce lighting energy consumption by 24% in commercial spaces and up to 30% in office environments.
One standout technology is luminaire-level lighting controls (LLLC), which integrate sensors and controllers directly into individual fixtures. These systems enable precise control of each luminaire, with energy savings often exceeding 60%.
Real-world examples highlight the impact of smart controls. At Westover Air Reserve Base, occupancy heat mapping combined with advanced lighting controls led to significant annual energy savings. Similarly, the U.S. Office of Personnel Management leveraged lighting-based occupancy data to adjust both lighting and HVAC systems, reducing overall costs.
"Lighting controls can help save energy – and money – by automatically turning lights off when they're not needed, by reducing light levels when full brightness isn't necessary, or otherwise controlling the lighting in and around your home."
– U.S. Department of Energy
When implementing smart controls, start by analyzing the specific needs and usage patterns of each space. Choose technologies that align with your fixtures, desired control levels (e.g., on/off, dimming, or scheduling), and budget. For even greater efficiency, consider integrating lighting controls with HVAC and security systems to optimize overall building performance.
Real-World Examples and Professional Services
Professional photometric planning addresses lighting challenges with expert designs that prioritize energy efficiency and deliver measurable results. These benefits are clearly demonstrated in real-world applications.
Benefits of Professional Photometric Planning
Expertly crafted photometric plans help avoid costly errors by analyzing light distribution, intensity, and uniformity to create solutions tailored to a facility's specific needs. As highlighted by STETRA Lighting :
"Photometric analysis is a crucial part of professional lighting design. A well-prepared photometric plan enhances efficiency, ensures compliance with industry standards, and improves overall visibility." – STETRA Lighting
This level of precision allows planners to identify potential issues like hot spots or dark areas before installation. They also account for long-term performance factors, such as lumen depreciation, ensuring consistent lighting quality over time. These advantages are central to how Luminate Lighting Group delivers exceptional results.
How Luminate Lighting Group Supports Photometric Planning

Luminate Lighting Group builds on these benefits by offering tailored photometric planning for commercial, industrial, and warehouse projects. Their process involves analyzing client goals and creating detailed layouts that specify optimal fixtures and control strategies. By conducting energy audits to establish baseline consumption, they design solutions that provide even light distribution while reducing energy use.
Their expertise spans a variety of facilities, including warehouses, commercial offices, parking lots, schools, healthcare centers, and government buildings. From assessment to installation, their services ensure compliance with regulations and eligibility for rebates, all while delivering customized attention to each project.
Results from Proper Photometric Planning
Effective photometric planning leads to tangible improvements. Energy savings are often immediate, with many projects achieving significant reductions in electricity costs soon after implementation.
For instance, Plaza Del Prado Condominium completed a three-day parking lot upgrade using 120W Lumipro G Series LED Area Lights, cutting material and labor costs. A North Miami exterior signage project achieved a 50% reduction in electrical usage by utilizing F-T Series flood lights and Lumipro G Series LED Area Lights. Similarly, replacing 450W metal halide bulbs with 120W LED linear high bays in a warehouse resulted in 70% energy savings.
International projects offer further proof of the potential. At IKEA Kaarst , daylighting controls nearly halved annual lighting energy use in one department, achieving 41.4 kWh/m²-year compared to a benchmark of 78.1 kWh/m²-year. The ES IDOM office in Madrid implemented daylight controls across four zones, reducing lighting energy use to just 4.90 kWh/m²-year in a 15-meter (approximately 50-foot) deep office space.
The benefits extend beyond energy savings. Proper photometric planning enhances working conditions and safety by improving visibility, reducing eye strain, and minimizing accident risks. These improvements boost employee focus and productivity while lowering liability concerns.
A study of 100 businesses found that smart lighting upgrades reduced energy costs by an average of 40%. Additionally, LED lighting typically consumes 75% less energy than traditional options and lasts 15 times longer, cutting both operating expenses and long-term maintenance costs.
Conclusion
Photometric planning acts as the cornerstone of successful lighting projects, ensuring proper illumination, energy savings, and enhanced safety. As one LED Light Expert puts it:
"Photometric studies are the blueprints of lighting. You do not want to start a project without a clear plan and some lighting projects are complex. By using a computer simulations we can plan for what the light will look like ahead of time and make sure you have the right fixtures in the right places."
With this approach, facilities can see measurable benefits: an 8% boost in productivity, a 94% improvement in hazard detection, and a reduction in industrial accidents by over 50%.
Thanks to advanced computer simulations, facility managers can meticulously plan fixture placement to ensure proper lighting while avoiding energy waste. This precision can lead to energy savings of up to 70%.
Beyond just cutting energy costs, photometric planning also enhances workplace safety, boosts efficiency, and ensures compliance with local lighting regulations - all while minimizing unnecessary light spill.
For commercial, industrial, and warehouse facilities, partnering with Luminate Lighting Group offers a comprehensive solution. From tailored photometric planning and LED retrofits to custom designs and energy audits, their services ensure maximum performance while adhering to regulatory standards.
The evidence is undeniable: precise planning doesn’t just save money - it enhances safety, ensures compliance, and delivers long-term value. Photometric planning is not just a helpful tool; it’s a must-have for facilities aiming for optimal lighting performance and efficiency.
FAQs
How does photometric planning improve energy efficiency and help save on lighting costs?
Photometric planning is essential for achieving energy-efficient lighting. By strategically positioning fixtures, it ensures that the right amount of light reaches the areas where it’s truly needed. This approach helps cut down on energy waste caused by over-lighting, ultimately reducing electricity usage.
Beyond energy savings, well-planned lighting design also brings long-term benefits. It lowers operational costs and extends the lifespan of fixtures, which means fewer replacements and lower maintenance expenses. This makes photometric planning a smart choice for creating efficient and budget-friendly lighting solutions in commercial, industrial, and warehouse settings.
What should I consider when selecting lighting fixtures for a specific space?
When selecting lighting fixtures, there are several key points to keep in mind to ensure they suit the space effectively. First, consider the size and layout of the room along with the activities that will take place there. For example, a workspace may require brighter, focused lighting, while a living room might benefit from softer, ambient options. Also, take note of how much natural light the space receives, as this can influence the type and amount of artificial lighting needed.
Think about whether adjustable lighting controls would be useful. Dimmers or smart lighting systems can offer flexibility, allowing you to tailor the brightness to different tasks or times of day. It's also worth paying attention to glare reduction and the color rendering index (CRI)- these factors can make a big difference in visibility and how colors appear under the light.
Finally, prioritize energy efficiency to help lower utility bills and reduce environmental impact. Make sure the fixtures comply with local energy regulations to avoid any issues. By balancing these considerations, you can create a space that's not only well-lit but also functional and cost-effective.
How do smart controls and sensors improve the performance of a photometric lighting plan?
Smart controls and sensors play a key role in making photometric lighting plans more efficient. By adjusting lighting in real time based on factors like occupancy or the amount of natural daylight, they can cut energy use by an impressive 35% to 70%. On top of that, they help decrease greenhouse gas (GHG) emissions by up to 22.5%.
What’s more, these technologies don’t just save energy - they make spaces more comfortable and functional by maintaining optimal lighting levels. For businesses, integrating smart controls means added flexibility, lower costs, and a step toward meeting sustainability targets.