.svg)
Take consistent foot-candle readings with a handheld light meter: mark points, log baseline and lights-on, and compare to IES/OSHA.

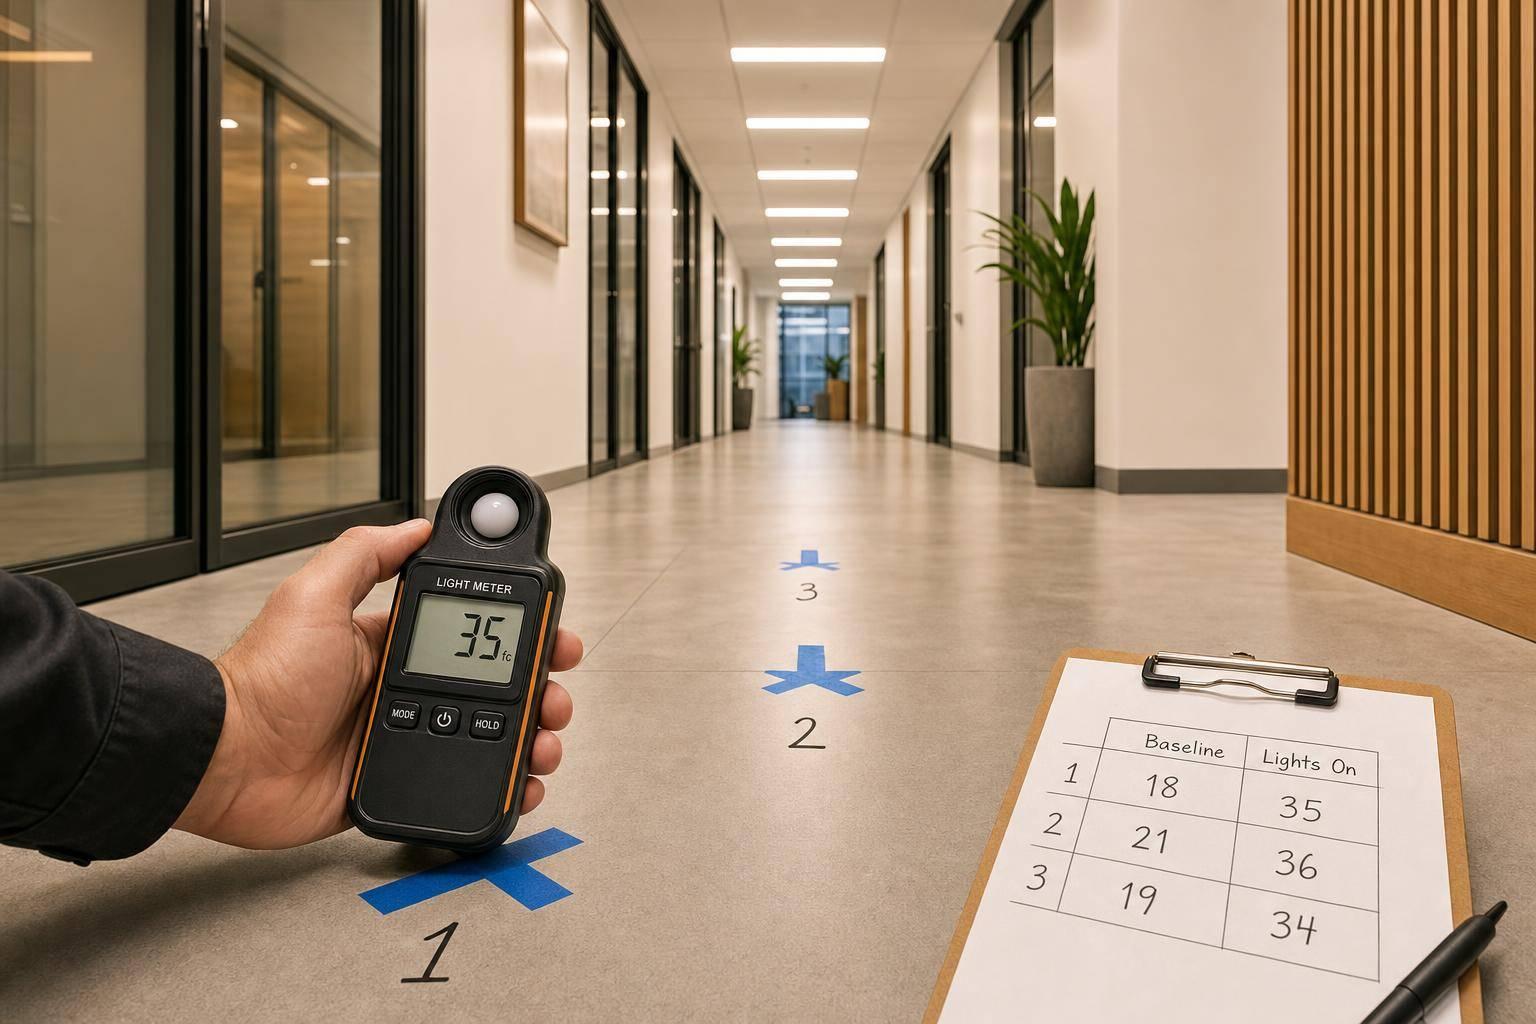
If I want lighting audit data I can trust, I need to measure the same points, in the same unit, under the same conditions every time. That is the whole job. A handheld light meter tells me whether a space is underlit, about right, or using more light than needed - and that affects energy use, safety, comfort, and project cost.
Here’s the short version:
A few things can throw the data off fast: changing units mid-audit, using random measurement points, reading before lamps hit full output, or shading the sensor with my body or hands.
That means good light-meter work is not just about the tool. It’s about a repeatable process. If I keep the process tight, I can back up retrofit plans, rebate paperwork, and before-and-after checks with numbers instead of guesswork.
Quick view:
| Step | What I do | Why it matters |
|---|---|---|
| Set the meter | Pick fc or lux and keep it there | Keeps the log clean |
| Mark points | Use the floor plan before testing | Makes repeat checks possible |
| Read baseline | Measure with target fixtures off | Shows daylight and spill light |
| Read active light | Measure again with fixtures on | Shows what electric lighting adds |
| Sample the zone | Check walls, fixture rows, gaps, and obstacles | Finds uneven lighting |
| Log context | Note fixtures, controls, hours, and conditions | Helps with ROI and reports |
| Classify results | Underlit, adequate, or overlit | Tells me what to fix |
If I do those seven things well, I can turn simple light readings into clear action.

7-Step Light Meter Audit Process for Energy Audits
With the unit locked in, get your meter ready and mark each reading point before you start.
Bring a calibrated handheld light meter, a tape measure or laser distance measurer, and a floor plan or hand-drawn sketch of the space. A clipboard or tablet helps with logging, and a smartphone or digital camera makes it easier to document fixture labels, lamp types, and overall room conditions for before-and-after records.
If fixtures are hard to reach, bring a step stool or ladder along with any required site PPE.
After you’ve gathered your tools, check the meter settings before walking into the space.
Set the meter to the project’s chosen unit and keep that unit the same for the entire audit. Use the lowest range that still covers the reading you expect to get. That usually gives you a better result than jumping to a higher range too soon.
If you’re not sure about accuracy, compare the meter with a calibrated reference or use a source-specific correction factor. Then give the meter a moment to stabilize and check the sensor lens for any damage.
Mark every reading location on the floor plan before you measure anything. Group points by zone, and keep interior areas separate from spaces affected by daylight. For task-area readings, measure at 30 inches above the floor.
As Christine Mallula of StreamLinx notes:
"Foot candle readings should be at tabletop height, which is 30 inches. But out in the field you can't use a tabletop for a guide, so an average height person can use readings from hip level."
Hip height is a handy field reference when you need to move fast and stay consistent. Label each point the same way on the plan and in your notes so every reading lines up with the right location.
Once the points are marked, you’re ready to take baseline and active readings in the next step.
Use the marked points from the floor plan, then measure each zone in the same order. That keeps the process clean and makes your numbers much easier to compare later.
Before you switch on the target fixtures, take a baseline reading with them off. Record any daylight and spill light from windows, skylights, adjacent rooms, hallways, or exterior sources, since all of that pushes baseline levels up.
After you log the baseline light, turn on the target fixtures and measure the exact same points again.
Once the target fixtures are on, give them time to reach full output before you record anything. If you measure too soon, your numbers can come out low.
Place the sensor on the actual task surface and keep it level. Also keep your body, hands, and nearby objects out of the beam so you don't throw off the reading.
One reading per zone isn't enough. A single point can miss dark spots and uneven coverage.
Instead, sample a grid of points across the area, including:
Use the same sampling pattern in every zone so the readings can be compared directly.
Consistent sampling makes zone-by-zone comparisons useful in the next step.
Once you’ve collected readings from every zone, the next step is turning those raw numbers into findings you can use.
A reading by itself doesn’t tell you much. It needs context.
For each point, record the location, fixture and lamp type, control type, condition, operating hours, unit, and any site factors that could affect the reading. You should also note actual operating hours, including after-hours use by cleaning crews or security staff. That small detail can change ROI math for controls and retrofits in a big way.
It also helps to take a photo of each space. That gives you a visual "before" record you can use in final reports and rebate documentation.
Once the log is done, you can start comparing zones side by side.
Compare the two readings for each zone to see how much the electric lighting system is adding. This also helps you spot areas that are underlit or overlit.
A sample audit log entry might look like this:
| Location | Fixture Type | Lamp/Wattage | Control Type | Ambient-Only (fc) | Lights-On (fc) | Status |
|---|---|---|---|---|---|---|
| Main Office | 2x4 Troffer | 3x32W T8 | Occ Sensor | 12 fc | 55 fc | Adequate |
| Storage | Strip Light | 2x32W T8 | Manual | 2 fc | 18 fc | Overlit |
| Hallway | Recessed Can | 1x18W CFL | Timer | 1 fc | 8 fc | Underlit |
Then compare each zone against the right IES and OSHA targets. That’s what shows whether electric lighting is doing too much, too little, or just enough.
After you match your readings to the benchmarks, classify each zone.
If the readings jump a lot from point to point, you may be looking at a uniformity problem. In many cases, that points to fixture spacing or optics issues, not only lamp output. That’s why interpretation matters just as much as measurement. If you read the pattern the wrong way, you’ll end up with the wrong fix.
Use these labels to rank fixes and document them for the report.
These labels set up the action plan in the next section.
Once you've logged the readings, turn them into a record you can use later. Stick with the same marked points for post-retrofit checks. That's what makes before-and-after comparisons defensible for internal budgeting and rebate applications.
Utility rebate applications often require documented fixture inventories, existing wattages, and before-retrofit readings. Alongside your readings, keep close-up photos of each fixture type. Also record actual burn hours, including after-hours cleaning, security, and overnight exterior lighting.
With that record in place, you can start ranking fixes and building the budget.
Use your zone labels to set priorities and match each area to the right fix. Overlit spaces are good candidates for dimming controls or fewer fixtures. Underlit zones may need a full layout redesign, not just a one-for-one swap.
If the budget is tight, phase the project by starting with high-traffic or high-energy-use areas. Go after the biggest energy users first for the fastest payback. For larger facilities, Luminate Lighting Group can turn audit data into photometric layouts, controls, and implementation plans.
A handheld light meter is only as useful as the process behind it. Measure from the same positions each time, log enough detail to support budgeting and rebate paperwork, and use your classifications to guide decisions. Consistent readings make retrofit results defensible.
Take multiple measurements in each zone, not just one. Split the space into a grid and record a reading at the center of each grid box.
For rooms 140 sq. ft. or less, use 20-inch spacing. For larger rooms, use 10-foot spacing.
Keep the meter at a steady task height, usually 30 to 36 inches above the floor. And stand at least 3 feet back so you don't cast shadows on the reading.
In the United States, use foot-candles to measure illumination for OSHA and IES compliance. That’s the standard unit used to check lighting performance under U.S. safety and design rules.
Lux is a metric unit, but foot-candles line up with the IES Lighting Handbook guidance for recommended light levels across specific tasks and spaces.
A handheld light meter needs regular calibration if you want its readings to stay accurate over time. How often that should happen depends on two things: what the manufacturer recommends and how often you use the device.
For the exact schedule and any calibration requirements, check the user manual that came with your meter.


