.svg)
Zone dimmable LED lighting near windows, use open- and closed-loop sensors, and commission systems to save 20–60% energy, maintain 500 lux.

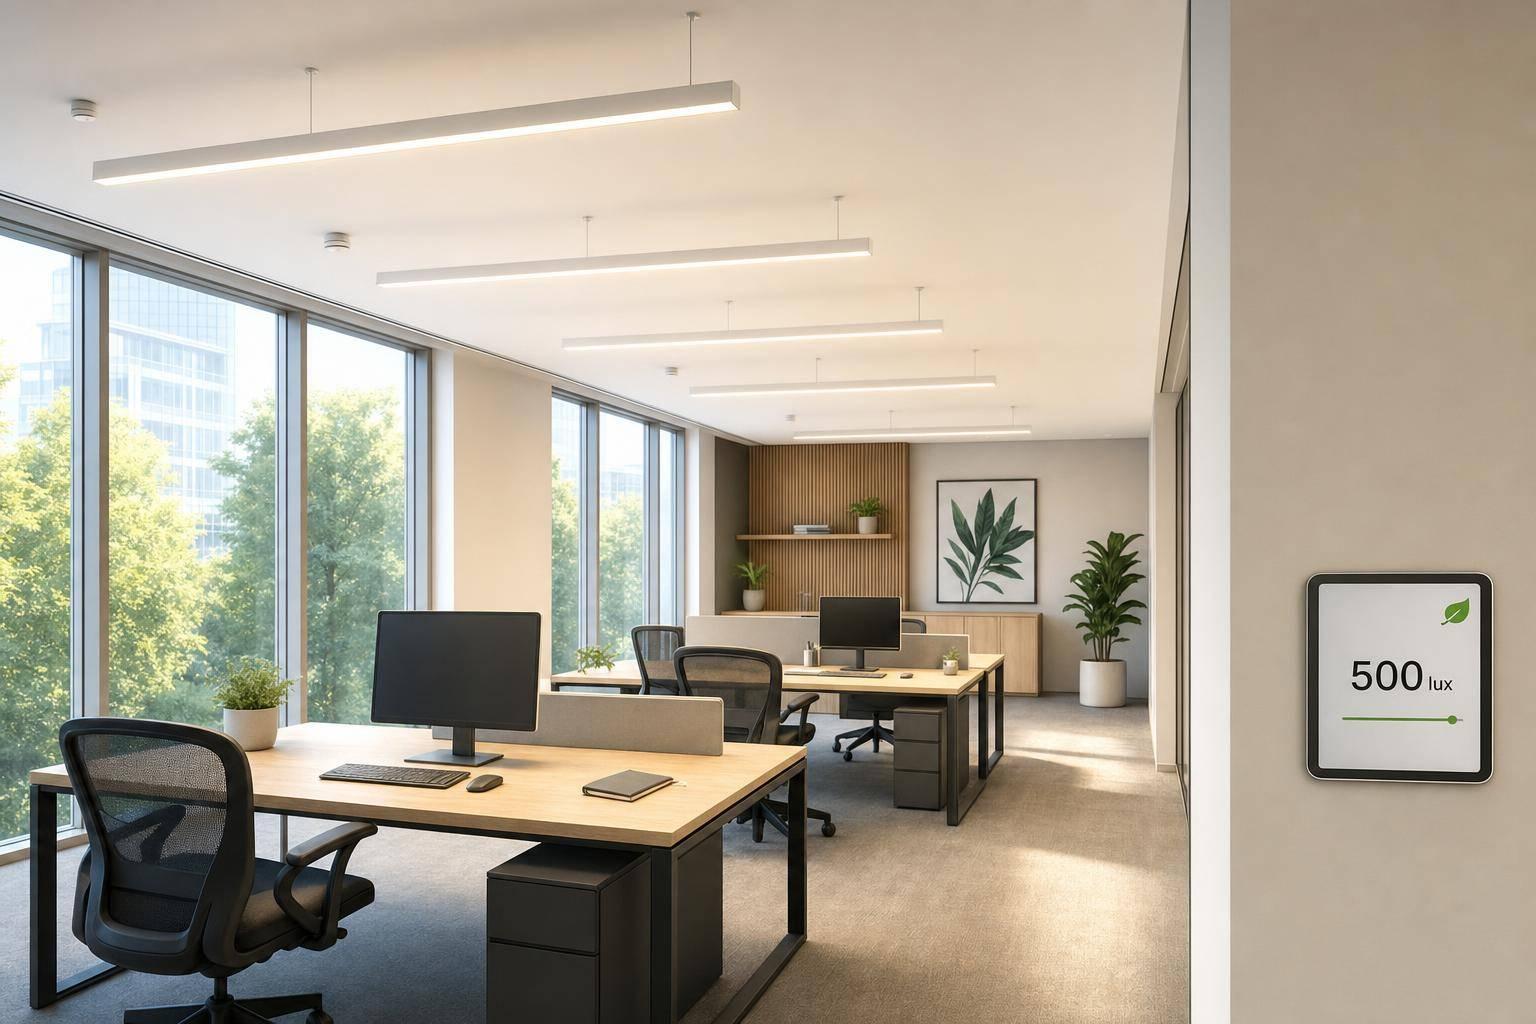
Daylight harvesting can cut office lighting energy use by 20% to 60% when the system is set up by zone and commissioned the right way. In plain English: lights near windows dim when daylight is strong, while interior lights stay where they need to be.
If I were planning an office project, I’d focus on four things first:
A few numbers stand out:
Here’s the short version: if you want daylight harvesting to work, don’t treat it like a single building-wide dimmer. Zone it, place sensors well, and tune it after install. That’s what keeps light levels steady and helps avoid wasted energy, glare, and occupant complaints.
| Item | What I’d check first | Why it matters |
|---|---|---|
| Fixtures | Dimmable drivers installed | Controls can’t dim non-dimming fixtures |
| Zones | Window row separate from interior | Perimeter daylight changes faster |
| Sensors | Open-loop vs. closed-loop match the space | The wrong sensor type gives poor control |
| Placement | Ceiling mount for closed-loop; correct perimeter placement for open-loop | Bad placement leads to bad readings |
| Commissioning | Calibrate setpoints and dimming levels | Poor setup can wipe out savings |
| Code | ASHRAE 90.1, IECC, and Title 24 review | Some daylit zones need required controls |
If you’re retrofitting an office, I’d also check floor depth, partitions, shelving, window coverings, utility rebates, and 179D tax deduction options before finalizing the scope.
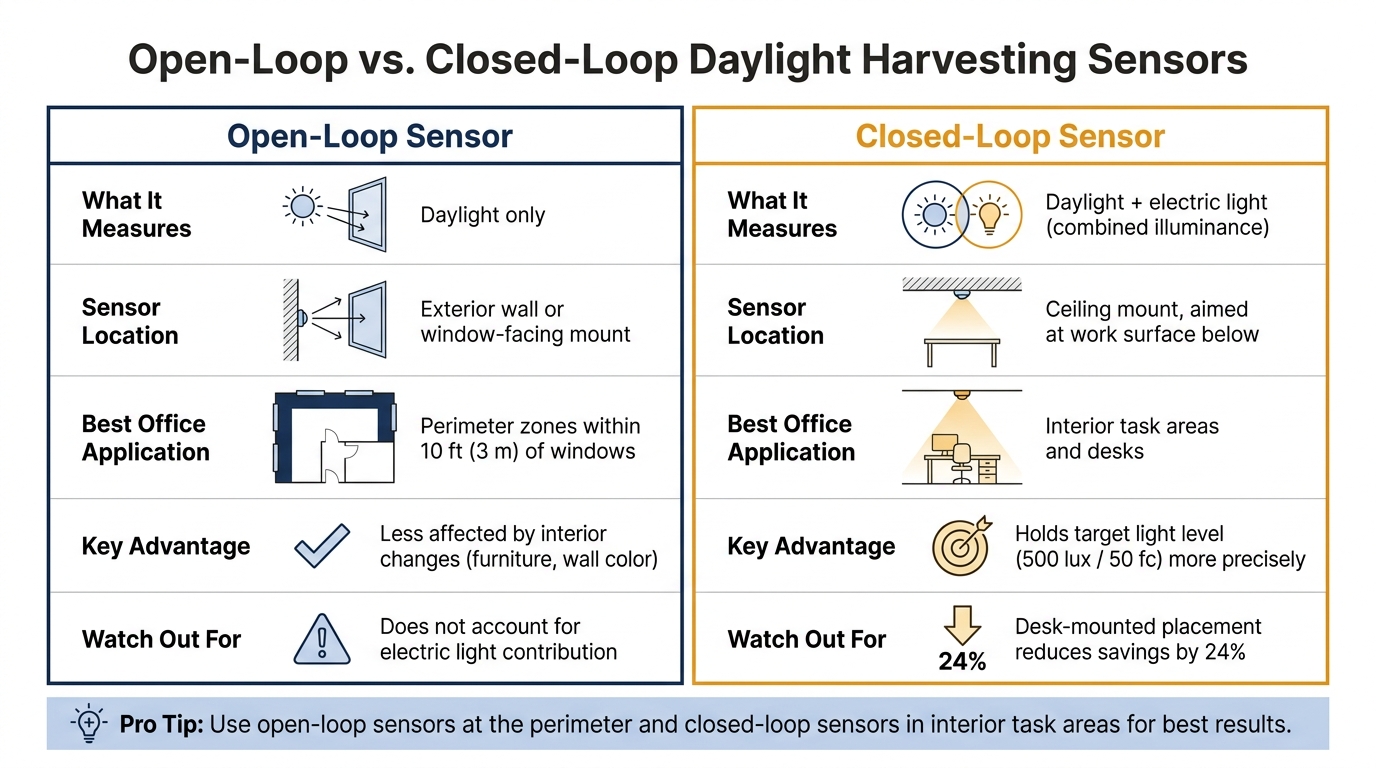
Open-Loop vs. Closed-Loop Daylight Harvesting Sensors: Office Guide
In office lighting, daylight harvesting only works when the sensors, controls, and dimmable fixtures are set up together by zone as part of our proven process for lighting solutions. The system relies on three core parts: photosensors, control modules, and dimmable LED drivers.
Here’s the basic flow:
Not all control methods work the same way. On/off switching is the most basic setup, but it does little during periods of partial daylight. Step dimming gives you a bit more control, though only in fixed increments. Continuous dimming tends to work best because it tracks daylight shifts smoothly and saves more energy during the day, especially when sunlight comes and goes. That control method depends on one thing above all: how the system reads daylight and reacts to it.
The type of sensor changes what the system is actually measuring. In offices, there are two main approaches: open-loop and closed-loop. Perimeter zones and interior zones usually need different methods.
An open-loop sensor measures only incoming daylight. It does not read the electric light it controls. These sensors are often mounted outdoors or pointed toward a window or skylight. Since they ignore electric light output, they’re less affected by shifts in wall color, furniture, or other interior changes. That makes them a strong fit for perimeter zones right next to windows, where daylight is the main factor.
A closed-loop sensor measures the total light in the space, which means daylight plus electric light. These sensors are usually mounted on the ceiling and aimed at the work surface below. Because they read combined illuminance at the task area, they do a better job of holding the target light level steady. That’s why they’re often used in interior task areas where light levels need to stay more even.
| Sensing Method | What It Measures | Sensor Location | Best Office Application |
|---|---|---|---|
| Open-Loop | Daylight only | Exterior or window-facing | Perimeter zones near windows |
| Closed-Loop | Daylight + electric light | Ceiling, facing work surface | Interior desks and task areas |
The standard target for general office work is 500 lux, or roughly 50 foot-candles, measured at desktop height. Daylight harvesting systems are built to keep that minimum level in place while cutting electric light as daylight increases.
In plain terms, the system adds only the electric light needed to hit that target. Near windows, where daylight is stronger, fixtures may dim a lot. Farther inside the office, they may stay close to full output. The controls respond to what’s happening in each zone, not to a fixed guess. So sensor placement has to support the actual light level at the desk.
One detail matters more than it may seem: sensor placement affects accuracy. For closed-loop systems, placing sensors on the ceiling above the work surface, instead of on the desk itself, gives a cleaner and more steady reading of task-level illuminance. Desk-mounted sensors can cut energy savings by 24% because of interference. So even if the target level is right on paper, the system can miss the mark if the sensor is in the wrong spot.
Next, that sensor logic has to match the office layout and the daylight zones.
With sensor behavior set, the next step is to divide the office into zones that match the way daylight moves through the space.
Before you touch a fixture or sensor, map where daylight actually reaches. The space right next to windows is your primary window zone. That’s where daylight is strongest, so that’s where harvesting usually does the most work.
A simple rule of thumb is to divide the floor plan into zones about 10 feet (3 meters) deep as you move away from the façade. The first band is the primary window zone. The second still gets daylight, but less of it, so it becomes the secondary window zone. Past that, you’re in the interior, where electric lighting does most of the work.
Skylights need their own daylight zones and should be handled on their own. Perimeter zones line up with open-loop sensing, while interior zones use closed-loop sensing to keep task lighting steady.
These zones set the line between perimeter sensing and interior lighting control. Professional lighting assessment services can help verify these zones before installation.
The main rule here is simple: fixtures near windows need their own control circuit, separate from fixtures deeper in the office. If both areas share one circuit, you can’t dim the perimeter without also dimming spaces that still need full electric light.
For most offices, the minimum setup that works well is two independent dimming zones: one for the fixture row closest to the window and one for the interior rows. That setup lets the perimeter react to daylight while the interior stays at full output.
Use DALI for zone-level control and for changes later if the layout shifts. Continuous dimming across these zones, instead of stepped switching, keeps changes smoother and helps avoid distracting occupants.
Once the zones are in place, sensor placement becomes much easier to dial in.
This is where a lot of systems go off track. The zoning may be right on paper, but poor sensor placement can throw the whole thing off.
For closed-loop sensors in interior task areas, mount them on the ceiling and aim them at the work surface below. Keep each sensor inside the zone it controls, not straddling two different zones.
For open-loop sensors at the perimeter, place them facing the window or on the exterior wall so they read incoming daylight without picking up electric light from the fixtures. One detail people often miss: put sensors at the center of the zone, about 10 feet (3 meters) from the façade. Sensors should be placed where they read the darkest point in the zone.
Calibration comes after installation and again after any finish or furniture changes. Wall, floor, and furniture finishes change how much light reaches the sensor. A room with white surfaces will read differently from one with darker finishes, even when daylight conditions are the same.
After you map the daylight zones, the next job is simple: figure out whether the setup saves enough energy to make the retrofit worth the money.
A well-planned daylight harvesting system usually cuts lighting energy use by 20% to 60%, with average yearly savings of about 24%.
The catch is that savings can swing a lot from one office to another. Glass type, floor plate depth, control strategy, and commissioning all play a part. Window coverings matter too. Even partly closed venetian blinds can slash daylight harvesting savings by about 50%.
Control type also makes a big difference. Dimming lets the system use partial daylight. On/off switching doesn't. That means dimming can squeeze more value out of the available light.
The upside isn't only on the power bill. When fixtures run less often, LED components tend to last longer. That can help cut maintenance strain and support reporting for building certifications like LEED, BREEAM, and Green Star.

The same daylight zones also need to line up with code. ASHRAE 90.1, the IECC, and Title 24 all require daylight-responsive controls in daylit zones that meet the stated thresholds.
California goes a step further. Title 24 requires at least 50% of general lighting in primary daylit zones to be split into separate control zones.
For owners and facility managers, the review usually comes down to a few practical checks:
Before moving ahead with a retrofit, start with the fixtures you already have. Check whether they use dimmable drivers like DALI, 0–10V, or PWM. If the drivers can't dim, adding controls by itself won't get the job done.
Then review the windows and the floor plate depth. Daylight harvesting tends to work best within about 10 feet (3 meters) of the façade. Move much farther in, and performance drops off.
It's also worth looking up at the ceiling and across the office floor. High partitions or tall shelving can block sensors and chip away at system performance without making much noise about it. This is one of those details that's easy to miss until the numbers come back lower than expected.
On the money side, many electric utilities offer rebates for daylight harvesting systems, which can shorten payback periods. The 179D tax deduction can also improve payback for commercial building owners who meet the energy efficiency thresholds. Those findings should feed straight into commissioning and tuning.
Once the system is installed, commissioning is what makes it perform the way it was planned to. If people feel the lighting is too dim or patchy, they may tape over sensors. When that happens, fixtures can end up running at full output, and the energy savings disappear.
Start with the basics. Make sure each control zone lines up with its daylight zone. Then confirm whether the system is open-loop or closed-loop so the controller interprets the sensor input the right way.
From there, calibrate each sensor to the actual task surface and check that each zone responds smoothly. If the system uses DALI drivers, confirm that the DALI zones follow their setpoints. Dimming should be continuous and proportional, not abrupt, so light changes stay subtle. Set minimum dimming levels high enough to keep task lighting comfortable, and make sure any occupant override can't shut off the automated controls for good.
Before the space is turned back over, record the calibrated sensor settings and minimum dimming levels. That way, maintenance teams have a clear reference point if the system needs adjustment later.
A daylight harvesting system needs attention after startup. Offices change all the time - new furniture, moved partitions, updated windows - and each change can affect the light levels a sensor sees. If no one recalibrates the system after those changes, performance slips and the savings start fading in the background.
The fix is pretty simple: treat daylight harvesting like routine maintenance, not a one-time project. After any layout change or window-treatment update, recheck the system and confirm that task-surface light levels still hit the target.
Daylight harvesting works best when the main parts work together: dimmable LED fixtures, clear control zones, well-placed and calibrated sensors, and careful commissioning. Leave out even one part, and the system can fall short - sometimes by a lot.
In practice, the biggest trouble spots usually come from process, not hardware. Skipped commissioning steps, missing documentation, and no recalibration plan after office changes can drag performance down fast. The fix isn't complicated, but it does take discipline: build commissioning into the project from the start, keep records of the final settings, and review the system at regular intervals as part of normal facility upkeep.
Your office is a good fit if it gets a lot of natural light through large windows, skylights, or open areas near the edge of the building. In spaces like these, photosensors can dim or switch off electric lights when daylight already provides enough illumination.
To make sure, a professional energy audit can spot areas with strong daylight potential. An experienced provider like Luminate Lighting Group can also help design and calibrate the system for code compliance, energy savings, and occupant comfort.
For daylight harvesting, use closed-loop ceiling sensors to track total light levels at the desktop. In perimeter window zones, calibrate these sensors so they read daylight correctly and aren’t thrown off by electric light.
For interior desks farther from windows, use ceiling- or wall-mounted occupancy sensors. When you pair them with dimmable LED fixtures, the system can shift automatically and keep light levels steady.
There’s no fixed, one-size-fits-all schedule for recalibration. Initial calibration during commissioning is a must, and regular monitoring and verification help keep the system performing as intended over time.
Periodic optimization can reveal when adjustments are needed because of equipment issues, changes in how the space is used, or shifts in occupant needs. Luminate Lighting Group also offers post-installation support to help maintain long-term energy savings.


