.svg)
Meet 2024 IECC requirements: zone warehouse aisles, install aisle-specific occupancy sensors, dim lights ≤50% within 20 minutes.

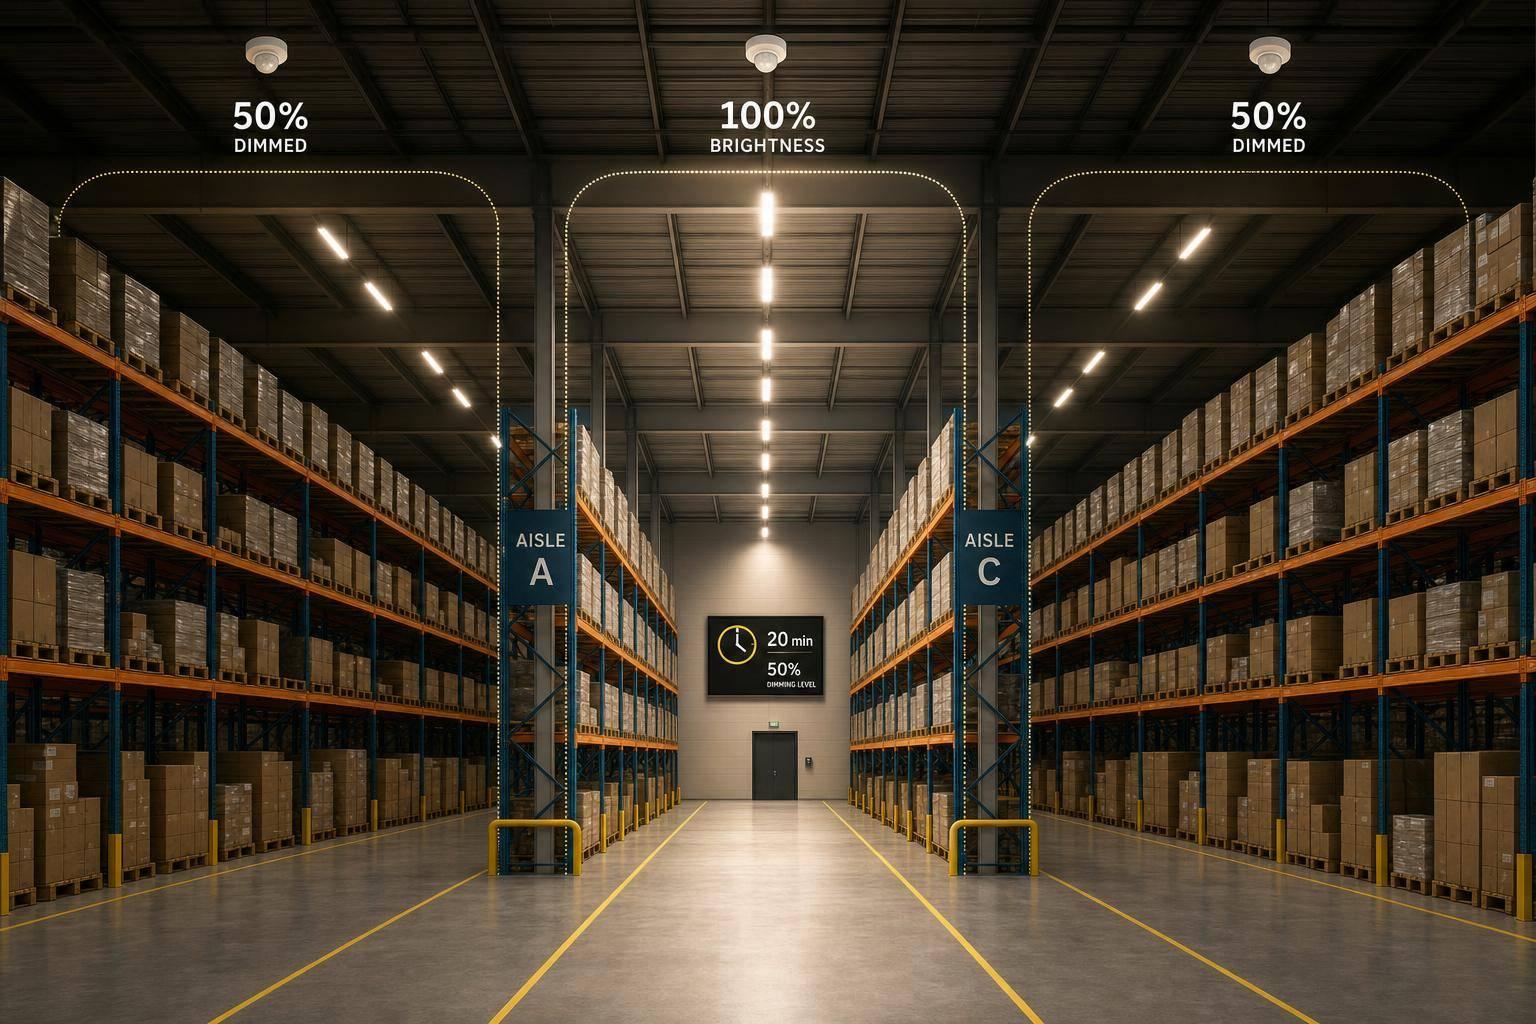
If your warehouse lights do not drop to 50% power or less within 20 minutes after vacancy, you may not meet 2024 IECC. And in many warehouse spaces, fixtures alone do not count. You need the right controls, the right zoning, and a passed functional test before sign-off.
Here’s the short version:
In plain terms: I’d treat this code update as a controls job, not just a lighting job. Zone the floor plan first, use sensors and dimming that fit each area, and test everything before closeout.
| Item | What the rule looks for |
|---|---|
| Vacancy response | ≤50% power within 20 minutes |
| Control zones | Separate aisles and open storage zones |
| Manual control | Manual-off required |
| Partial-output setup | Time-switch may be needed for final off |
| Inspection | Functional testing required |
This article breaks down the rule into the parts that matter most on the warehouse floor: zone layout, sensor response, sensor placement, and the checks used during commissioning.
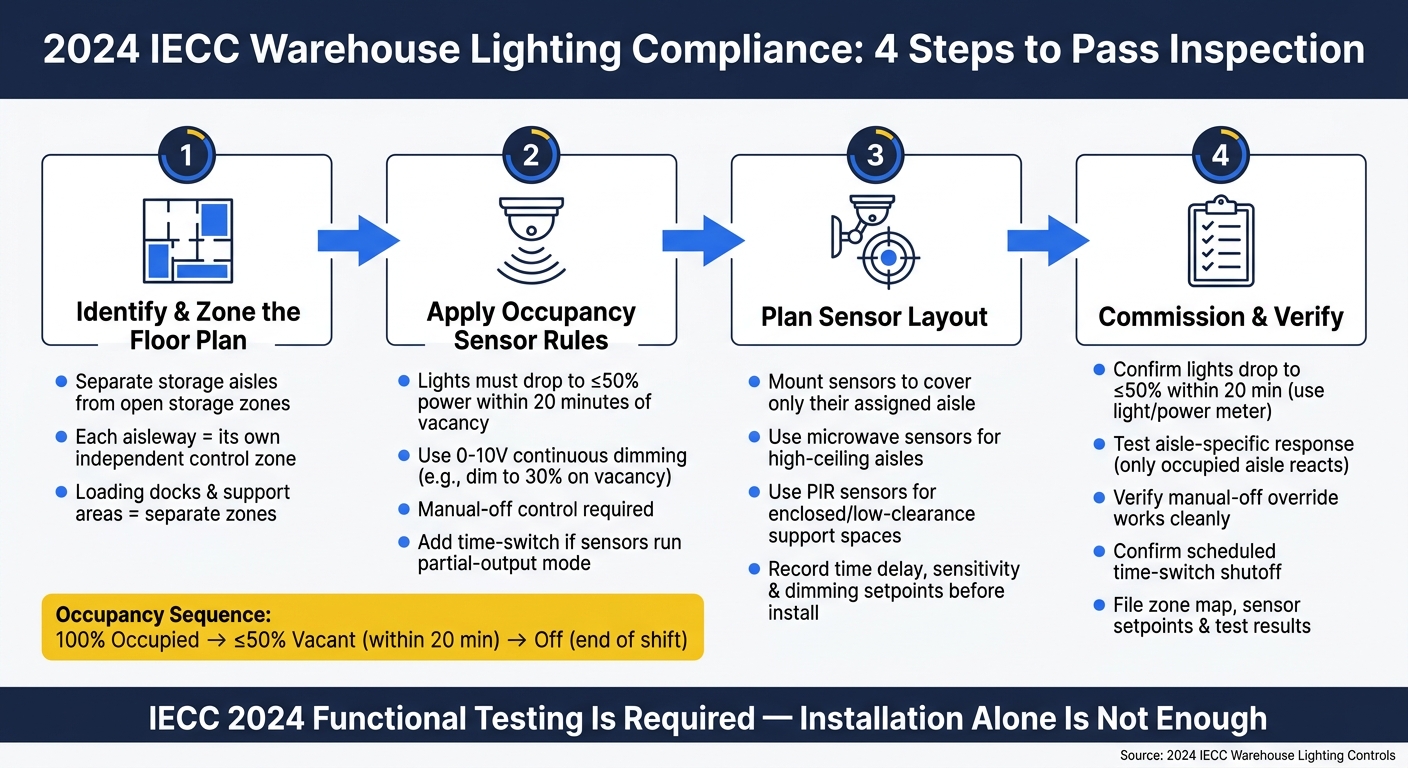
2024 IECC Warehouse Occupancy Sensor Compliance: 4-Step Process
Under the 2024 IECC, warehouse storage aisles and open storage zones are handled as separate control zones. Start with the floor plan, not the fixture layout. That’s the key first move. This is a core part of our lighting design process. The code applies these controls to warehouse storage aisles and open storage zones, so the plan needs to be split into those two zone types from the start.
Warehouse storage aisles are the spaces between pallet racks or shelving. Open storage zones are larger floor areas where goods are staged without fixed racking. Under the code, these two space types should be treated as separate controlled zones.
Racked aisles can block sensor coverage, so map each zone before choosing hardware.
Each aisleway must have independent control, so lighting changes stay within that aisle.
Loading zones and support areas need their own control zones. They should not share the same control circuit as storage aisles.
Once the zones are mapped, apply the occupancy-sensor response to each one.
Once your zones are mapped, the next step is simple: set each control so it meets the vacancy-response rule.
Program each controlled zone so the lights dim to 50% or less within 20 minutes after the area becomes vacant. A common way to meet this rule is with 0-10V continuous dimming.
A high/low dimming setup works well here. The fixtures stay at full output when someone is in the aisle, then drop to a lower level, such as 30%, after vacancy. It’s a clean, practical setup for warehouse aisles and similar spaces.
Sensor placement matters too. Use sensors with coverage that can reach around rack obstructions. If the racks block detection, the control logic may be fine on paper but miss the mark in day-to-day use.
Manual controls must be in place so occupants or operators can override the sensor and turn the lights off by hand. That part isn’t optional.
If the occupancy sensors are set for partial-output mode instead of full shutoff, you also need a separate time-switch control to handle the final shutoff step.
The sequence should look like this:
Without that scheduled shutoff, a partial-output mode system by itself will not satisfy the code.
If you’re pairing a manual dimmer with an occupancy sensor, use a sensor-compatible driver or a dedicated 0-10V controller. Also keep polarity consistent across the zone to avoid flicker or dimming failure. Before commissioning, document those settings so there’s no guesswork later.
Once your control logic is in place, the next job is matching that logic to the physical layout. The software can be set up perfectly, but the system still won’t work the way you want if sensors are aimed at the wrong areas or one zone spills into another.
After the zone map is set, place each sensor so it controls only the area assigned to it. Mount each sensor so it covers only its assigned aisle. If the coverage reaches into a neighboring aisle, one person can keep the wrong aisle lit.
Keep loading docks, staging areas, and circulation paths in separate zones from storage aisles. These spaces often run on different schedules, so they shouldn’t share the same control circuit.
Use microwave sensors for high-ceiling warehouse aisles and open storage, and use PIR sensors for smaller, enclosed support spaces or low-clearance areas.
Before installation, record each sensor’s time delay, sensitivity, and dimming setpoints. Then run a quick functional test with sensors in test mode before using lift equipment to close ceilings or finish the installation.
That small check can save a lot of hassle. It shows whether lights in one zone accidentally trigger an adjacent zone, and it helps you spot wiring issues while they’re still easy to fix.
Keep those settings with the zone map for the compliance check in the next step.
Once the zone map and settings are documented, it’s time to commission the system in the field. This part matters because IECC 2024 calls for functional testing, not just controls that are installed and powered on.
Use this table as a simple walk-through checklist during commissioning. Each row ties a code requirement to the control type and the step an inspector will usually want to see confirmed.
| Required Code Function | Control Type | Verification |
|---|---|---|
| Occupancy Power Reduction | 0-10V dimming driver with PIR or microwave sensor | Confirm lights drop to ≤50% power within 20 minutes of vacancy. |
| Manual-Off / Override | Wall stations or manual switches | Trigger override; confirm shutoff. |
| Aisle-Specific Control | Independent sensors per storage aisle | Confirm only the occupied aisle responds. |
| Time-Switch Shutoff | Scheduled time-switch or secondary sensor delay | Verify scheduled full-off. |
Start with test mode so you can check the full-to-dimmed transition without waiting through the full delay period. Then switch the system back to the programmed timeout.
Next, check the dimmed level. Use a light meter or power meter to make sure the output reduction meets code. Then walk each aisle and confirm the lights recover fast when occupancy is detected. This is also the moment to catch a common field issue: racks blocking sensor coverage.
Save manual-off for last. Trigger the wall station or override switch and confirm the lights shut off cleanly. Also make sure the manual controls and sensors don’t fight each other during operation.
Before closeout, file the zone map, sensor setpoints, and test results.
A code-compliant warehouse lighting system usually comes down to four things: identifying the areas the code applies to, using the right occupancy sensor functions, setting up independent aisle control, and checking every programmed setting during commissioning. Miss one of those, and the whole setup can stumble at inspection.
When testing is complete and the controls perform as required, the warehouse is in a much better position to pass inspection and trim lighting energy use.
Luminate Lighting Group helps warehouse teams audit controls, document compliance, and plan code-ready LED upgrades.
No. Under the 2024 IECC, warehouse aisle lighting must cut power by at least 50% within 20 minutes after the aisle becomes vacant.
You can do this with continuous dimming or stepped switching, also called bi-level control. In plain English, the lights don’t have to shut off all the way. They just need to drop output to 30% to 70% of full power.
Under the 2024 IECC, a time-switch is required as part of automatic lighting controls to help prevent wasted energy when spaces are unoccupied.
Occupancy sensors handle aisle vacancy first. But time-switch systems help with broader code compliance by turning lights off or dimming them on set schedules, such as during non-business hours.
Confirm each sensor controls one aisle only. It shouldn’t switch on from movement in nearby aisles or walkways. Check the field of view for every sensor, and use shielding or adjust the angle so detection stays inside the assigned zone.
Before the inspection, test the system to make sure the programmed high/low lighting response works as intended and to catch any false triggers. Have the sensor maps, control logic, and sequence of operations ready for the Authority Having Jurisdiction.


